Windows client name is derived from config file name when importing to WireGuard and it only accepts names satisfying /^[a-zA-Z0-9_=+.-]{1,32}$/.
For more information look at af60ab2299/conf/name.go (L24).
WireGuard Easy
![]()
![]()


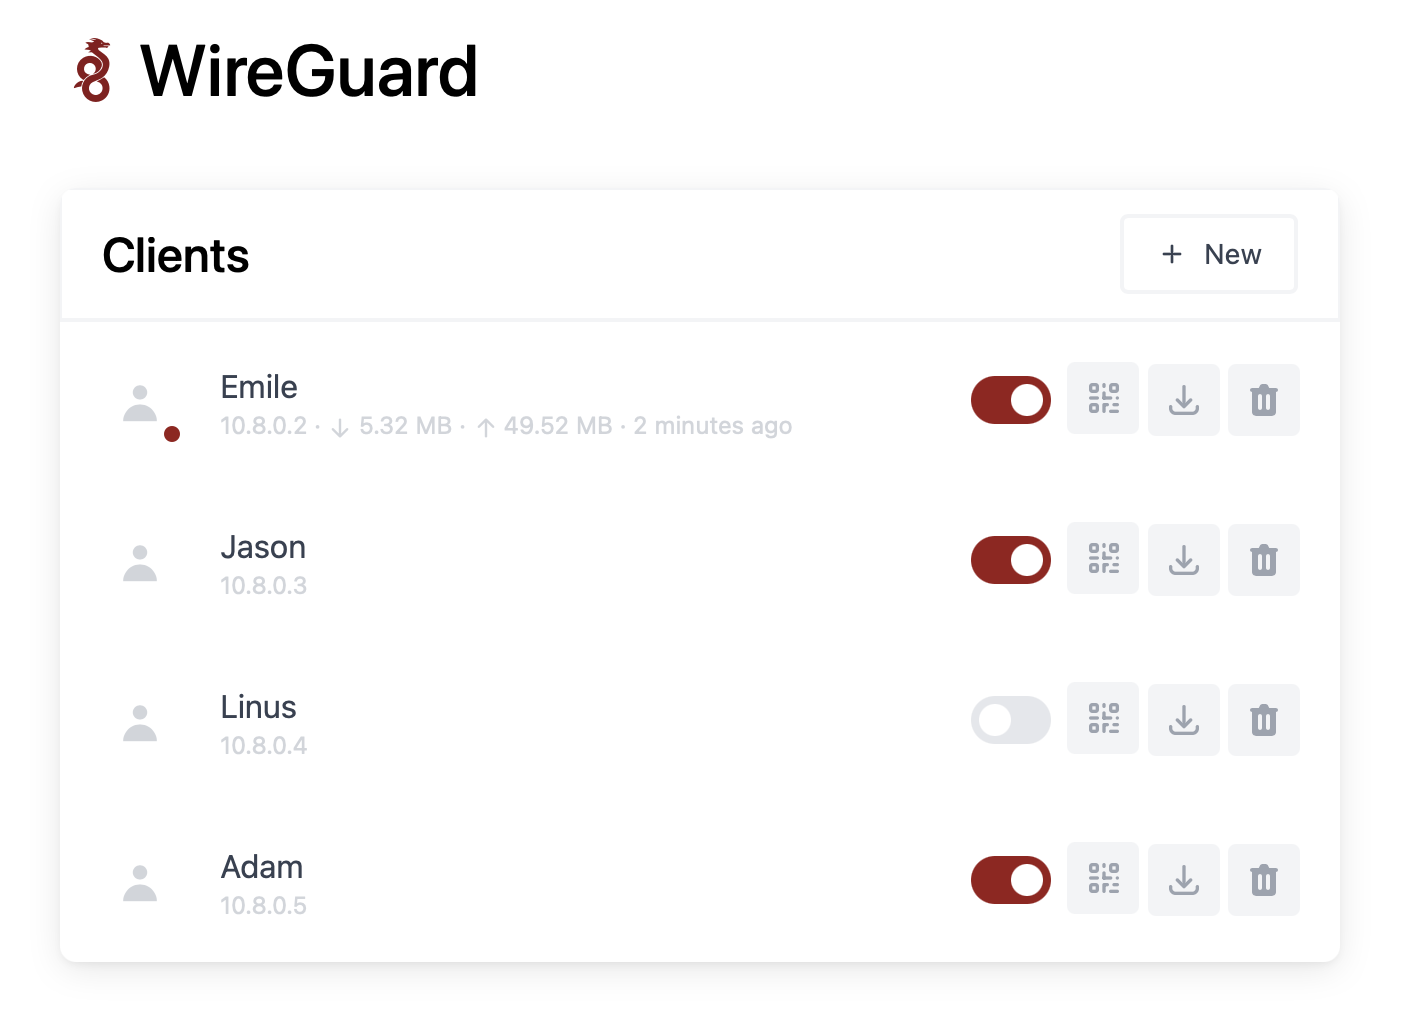
You have found the easiest way to install & manage WireGuard on any Linux host!
Features
- All-in-one: WireGuard + Web UI.
- Easy installation, simple to use.
- List, create, edit, delete, enable & disable clients.
- Show a client's QR code.
- Download a client's configuration file.
- Statistics for which clients are connected.
- Gravatar support.
Requirements
- A host with a kernel that supports WireGuard (all modern kernels).
- A host with Docker installed.
Installation
1. Install Docker
If you haven't installed Docker yet, install it by running:
$ curl -sSL https://get.docker.com | sh
$ sudo usermod -aG docker $(whoami)
$ exit
And log in again.
You might need to install docker-compose separately. For example, on a Raspberry Pi:
sudo apt-get install docker-compose
2. Configure WireGuard
Run these commands to prepare and configure WireGuard.
$ mkdir ~/.wg-easy
$ cd ~/.wg-easy
$ wget https://raw.githubusercontent.com/WeeJeWel/wg-easy/master/docker-compose.yml
$ vim docker-compose.yml
Change WG_HOST=raspberrypi.local to your server's public address, e.g. WG_HOST=vpn.mydomain.com.
Optionally, set a Web UI password by uncommenting PASSWORD=foobar123 and change the password.
By default, any WireGuard client will have access to the Web UI, unless you set a password.
3. Run WireGuard
Finally, run WireGuard. It will automatically start after a reboot.
$ docker-compose up --detach
The Web UI will be available on http://0.0.0.0:51821. You can create new clients there.
Options
These options can be configured in docker-compose.yml under environment.
| Env | Default | Example | Description |
|---|---|---|---|
PASSWORD |
- | foobar123 |
When set, requires a password when logging in to the Web UI. |
WG_HOST |
- | vpn.myserver.com |
The public hostname of your VPN server |
WG_PORT |
51820 |
51820 |
The public UDP port of your VPN server |
WG_PERSISTENT_KEEPALIVE |
0 |
25 |
Value in seconds to keep the "connection" open |
WG_DEFAULT_ADDRESS |
10.8.0.x |
10.6.0.x |
Clients IP address range |
WG_DEFAULT_DNS |
1.1.1.1 |
8.8.8.8, 8.8.4.4 |
DNS server clients will use |
WG_ALLOWED_IPS |
0.0.0.0/0, ::/0 |
192.168.15.0/24, 10.0.1.0/24 |
Allowed IPs clients will use |
If you change
WG_PORT, make sure to also change the exposed port.
Updating
To update to the latest version, run:
docker-compose down
docker-compose pull
docker-compose up --detach --remove-orphans
docker image prune